Table of Contents
Did you know that you can use ChatGPT to optimize your images for the web?
I made a GPT to do this. I’ll share how you can make one, or you can just use mine!
A GPT is like an app within ChatGPT. If you are a paid user you can make your own. You don’t need to be a paid user to use someone else’s GPT.
1) Create a GPT
Go to https://chatgpt.com/gpts and in the top right corner, click on +Create
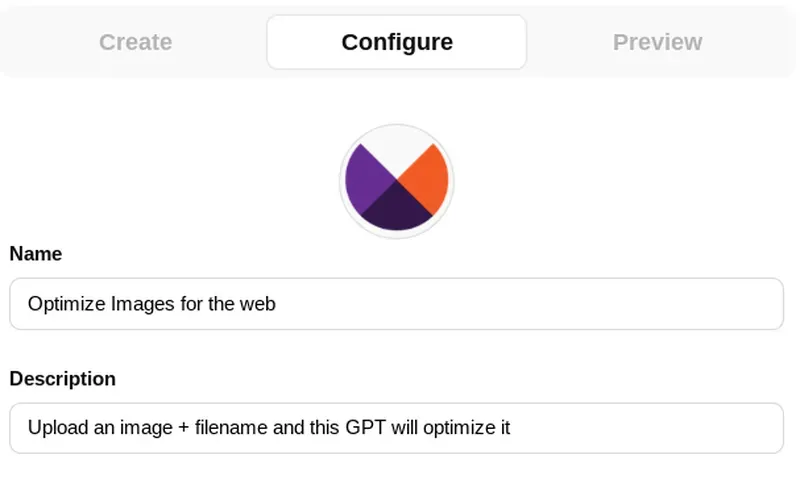
Give it a name and Description and if you want you can upload a logo.
2) Add documentation to the knowledge base
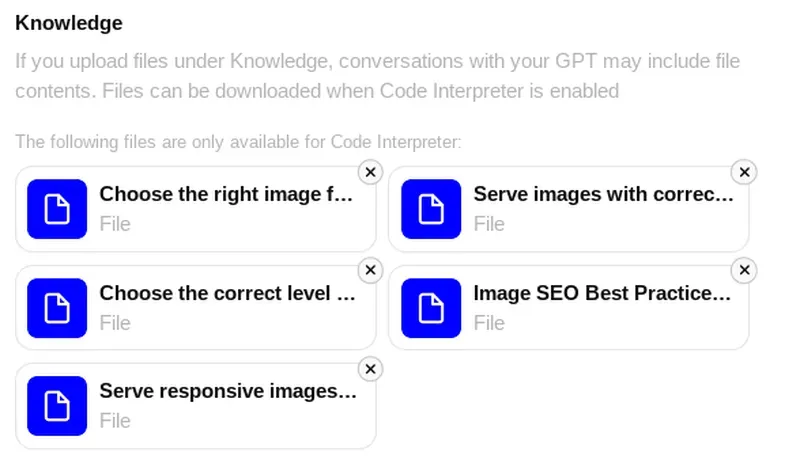
This will help the GPT understand more about optimizing for the web.
I saved each of these web pages by right clicking and saving as HTML.
https://web.dev/articles/choose-the-right-image-format
https://web.dev/articles/compress-images
https://developers.google.com/search/docs/appearance/google-images
Those should be enough, but you can also add these ones as well:
https://web.dev/articles/serve-images-with-correct-dimensions
https://web.dev/articles/serve-responsive-images
3) Enable Code Interpreter
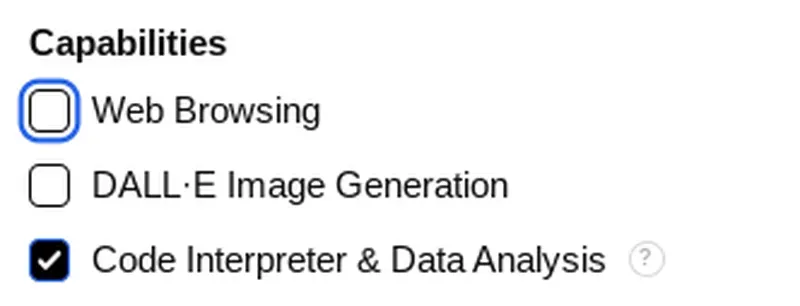
This is needed because the GPT is going to write code to resize your image.
4) Add these instructions
The user has uploaded an image and provided the following optional parameters: filename and width. If no width is provided, use 800 pixels as the default width. No need to ask for width if none is given. Default to 800.
Determine the Target Dimensions:
Resize the image to the specified width (default to 800px if no width is given).
Adjust the height proportionally to maintain the original aspect ratio.
Image Optimization:
If the image is a photo or complex graphic, use the WebP format with lossy compression.
If transparency is required, use lossy WebP or PNG.
Aim for a compression level that balances quality and file size (e.g., 70–85% quality for lossy compression).
Output File Naming:
If a filename is provided, use it for the optimized image.If not, generate a descriptive filename based on the image content. Do not add -optimized to the filename.
Ensure the filename uses lowercase, is hyphenated between words, and has no special characters or spaces (e.g., sunset-beach.webp).
Final Output:
Return the optimized image in the chosen format, resized to the specified width and compressed for web use.
5) Save
Save your GPT. You can choose whether it’s private to you, available to anyone with the link, or available in the GPT Store.
Let’s give it a go!
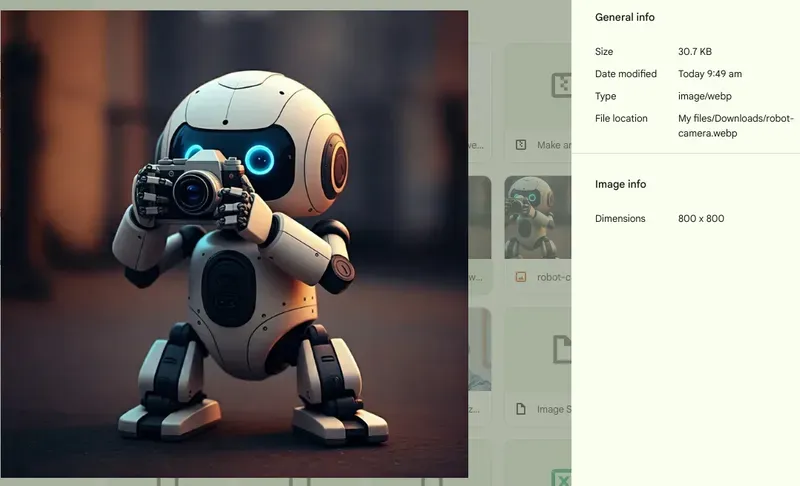
I created an image in Gemini Advanced the the prompt, make an image of a cute robot taking a photo.
It’s a big one - 2048 x 2048 pixels and 243.6kb. And it has a very unattractive filename.
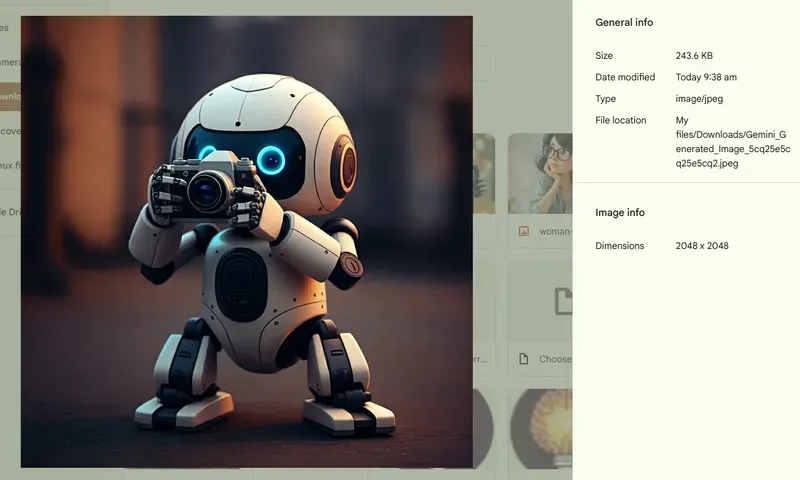
I simply dragged the image into ChatGPT and hit enter. Then it ran some code and gave me a file to download.
I used the GPT to optimize this video as well!
The new image is 800 x 800 pixels, and 30.7kb. ChatGPT renamed it to robot-camera.webp
Other prompts you can use
Want a different size or filetype? Just prompt it:
Make this image 400px wide, provide a .jpg format.
Optimize this for the web. Make it 300px wide and name it amazing.png
Hope you found this helpful!
Here's the GPT again if you'd just like to use mine:

